Photographing The Hobbiton Movie Set
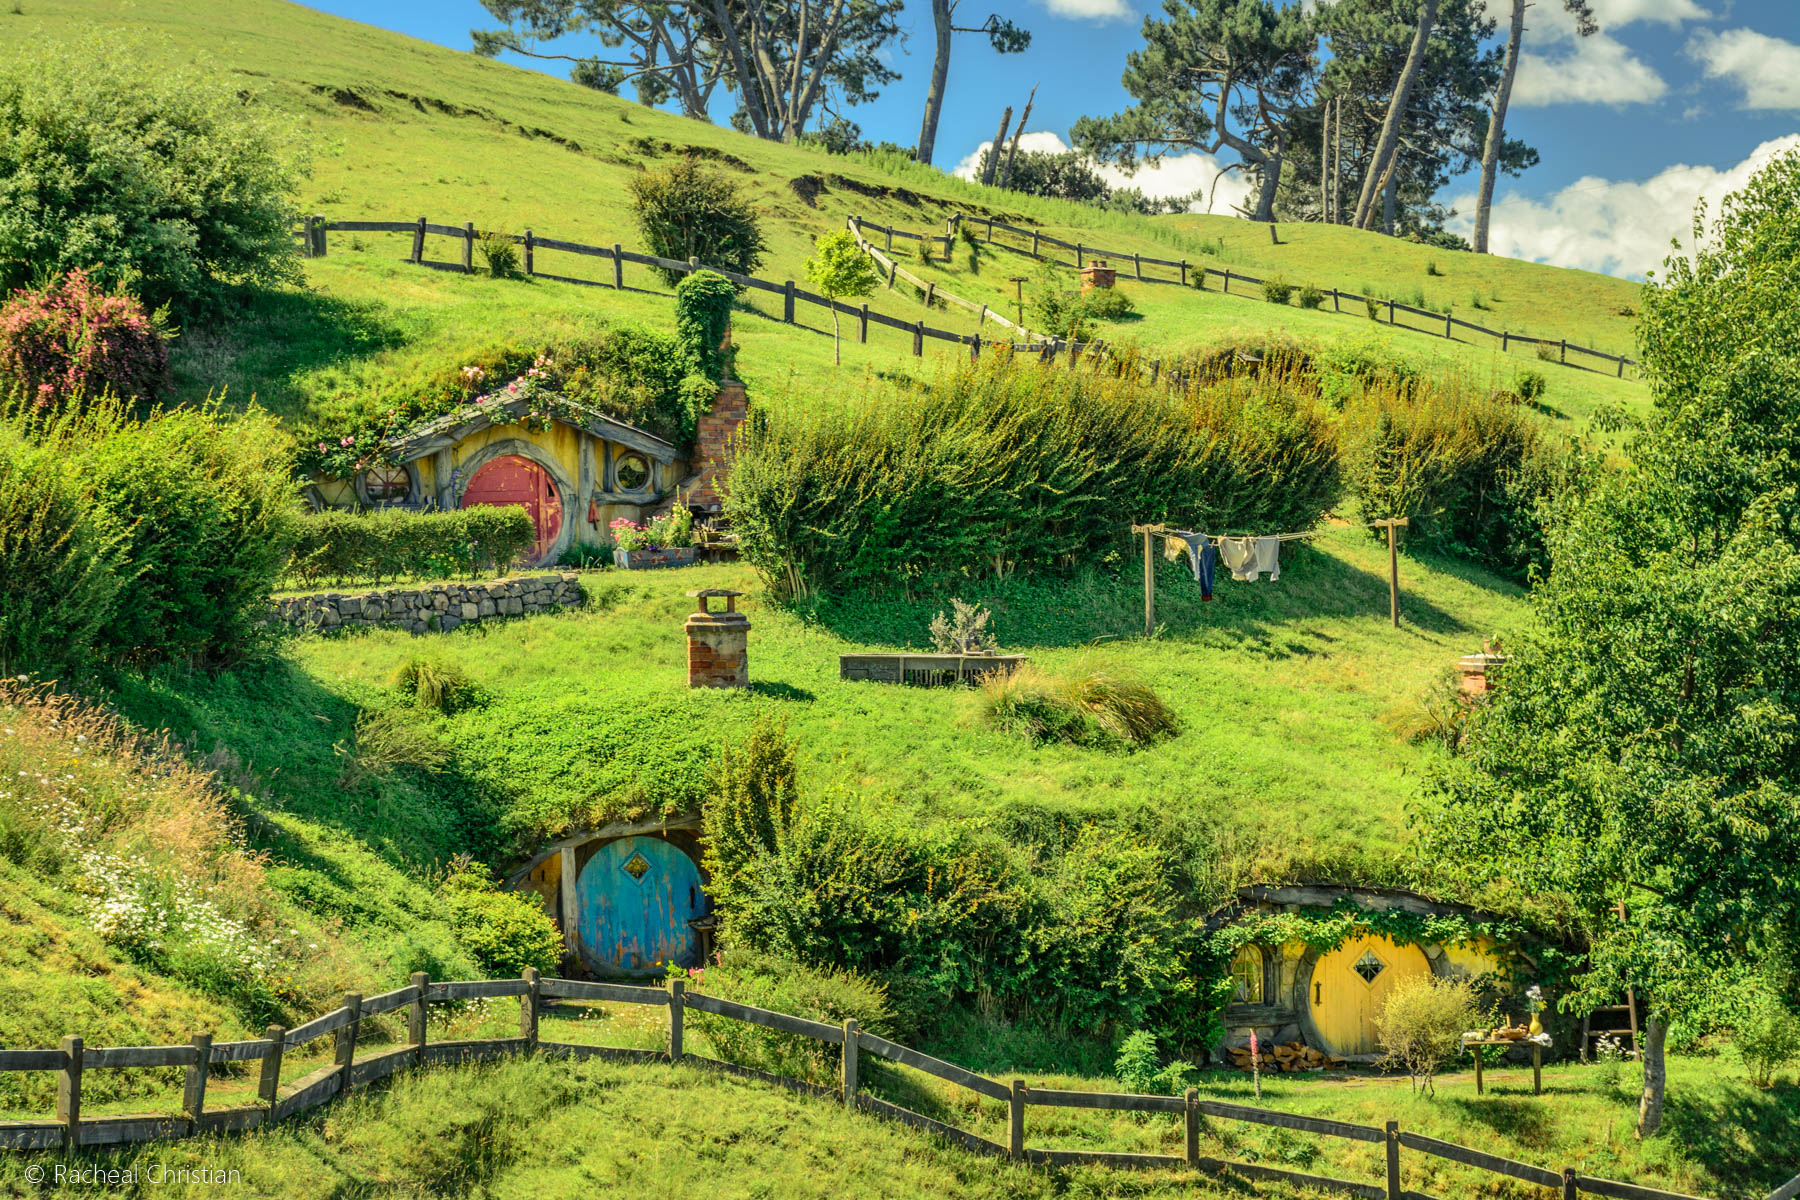
Hobbiton is the home of The Lord Of The Rings and The Hobbit characters Bilbo Baggins, Froddo and Sam. The original Hobbiton Movie Set was not built to last, although it was later reconstructed to live on long after the movies were filmed. Now open to the public as a tourist attraction, it is located on the Alexander family farm, in Matamata on the North Island of New Zealand.
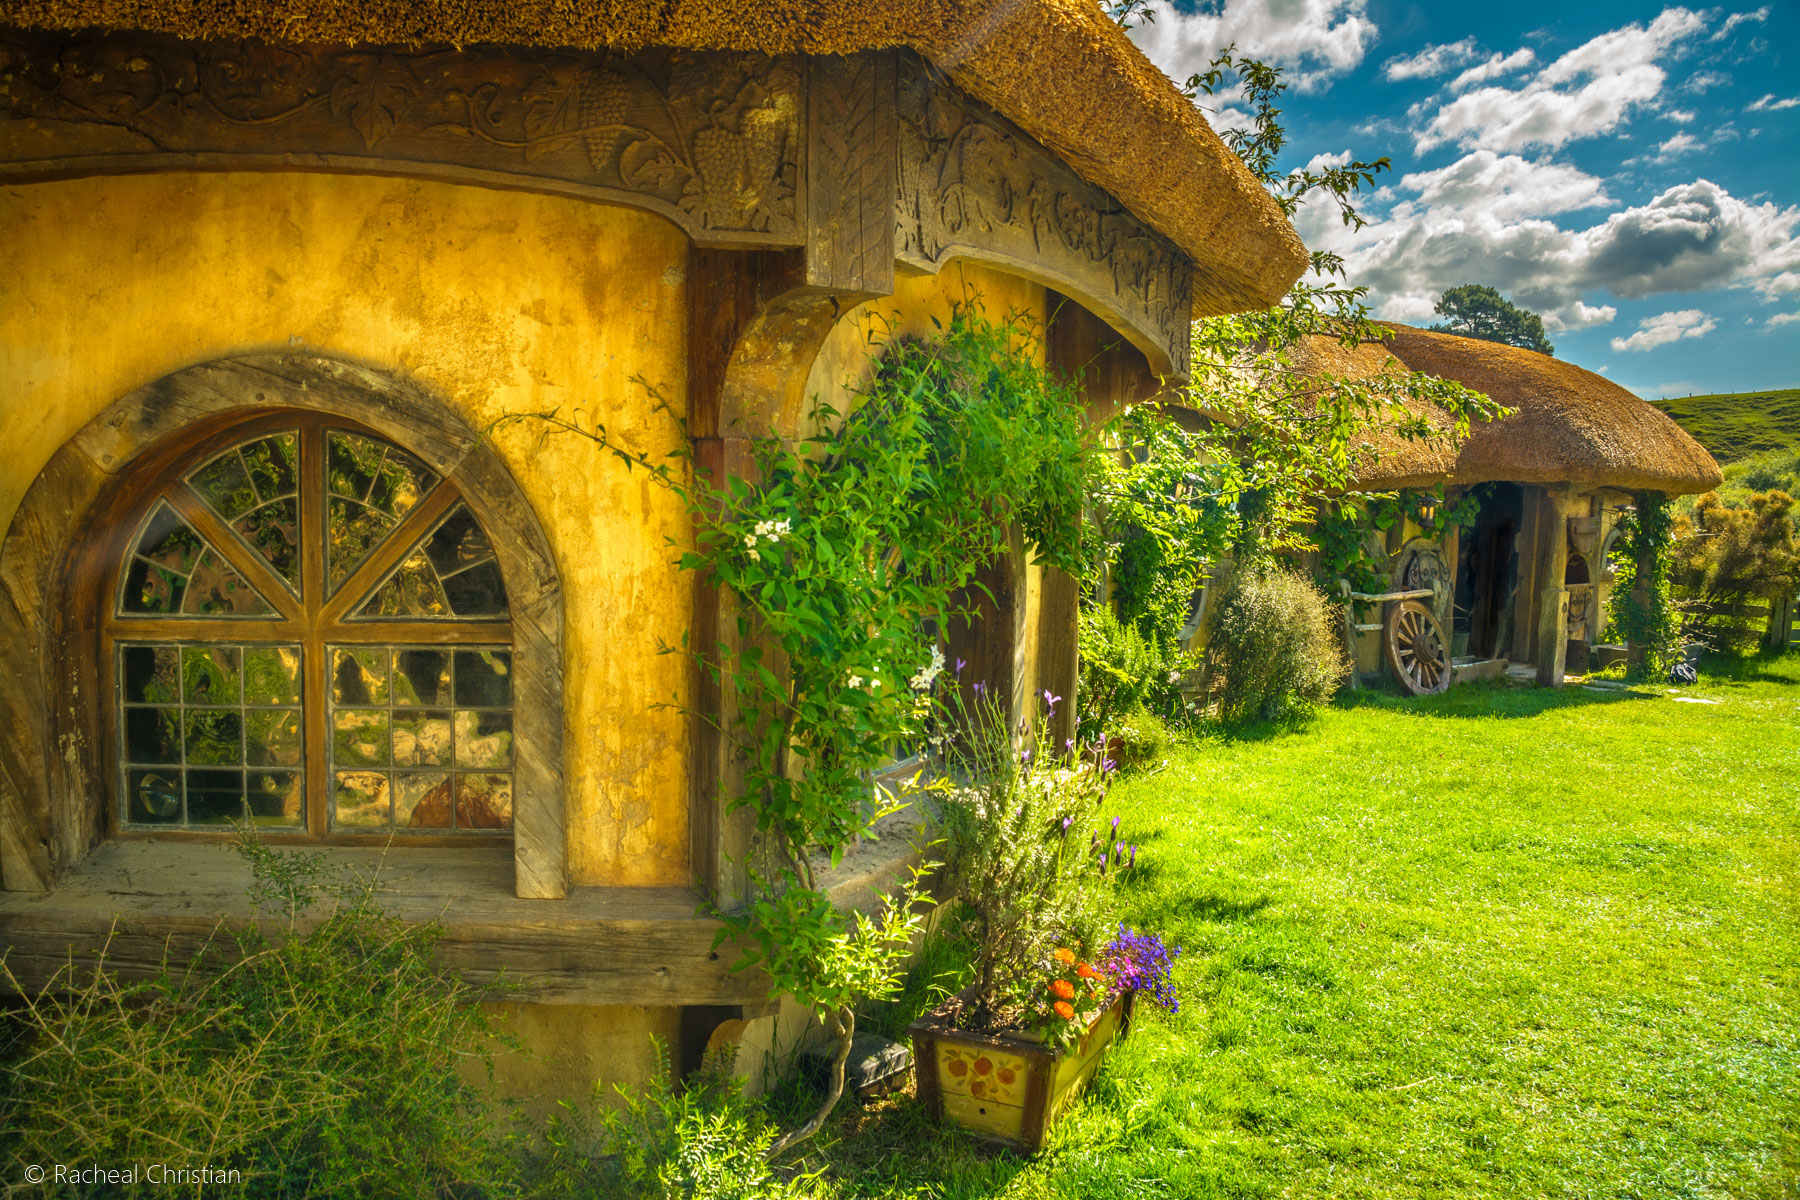
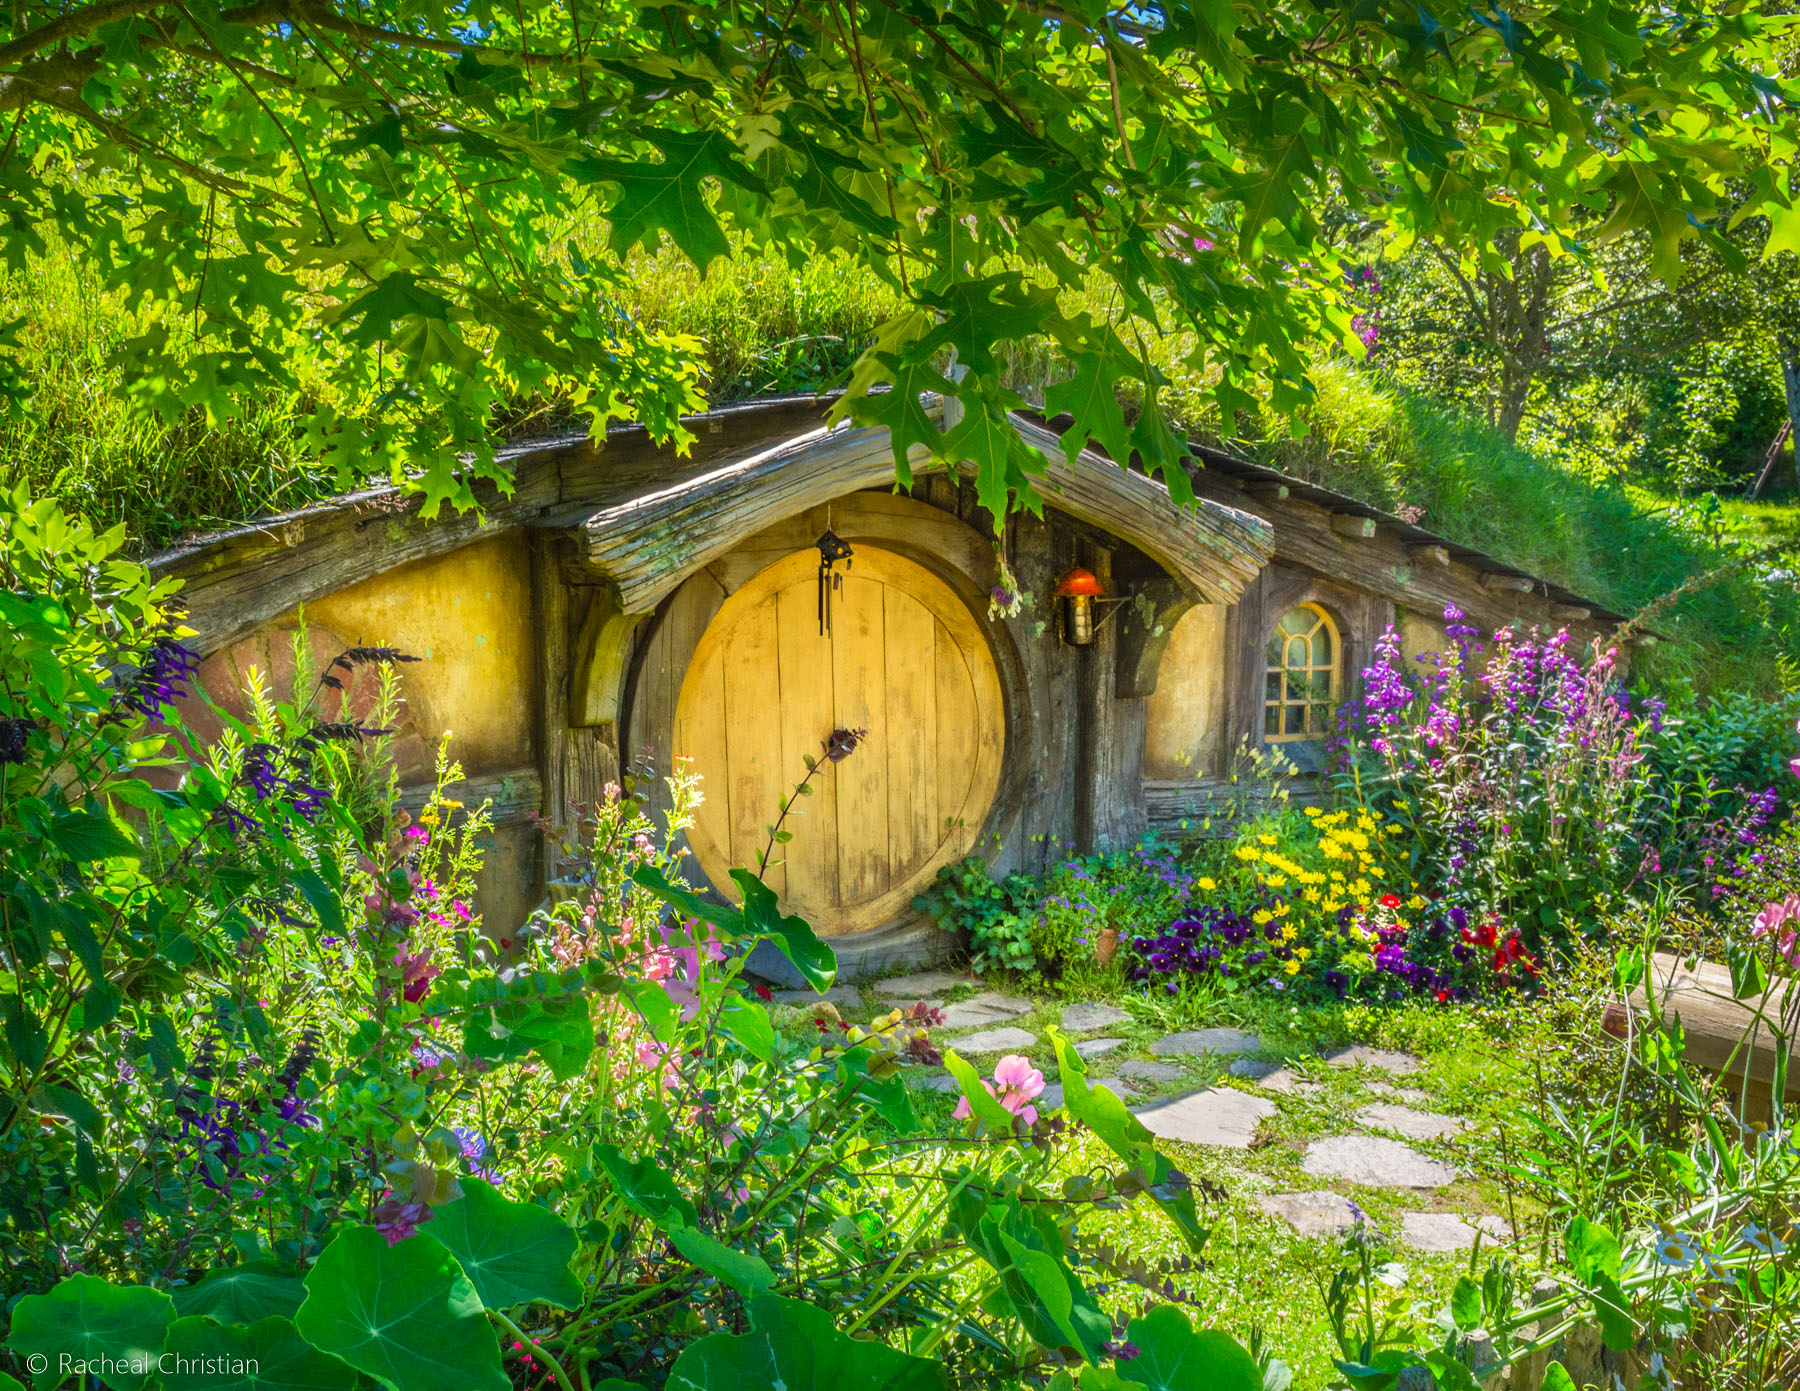
‘The Shire’ was more beautiful than I expected. The whole area is amazing and well worth the visit. Although, as a photographer there are certain things you need to be aware of before you plan your trip. Taking photos of the ‘Hobbit Holes’ is easy, taking great photos is really difficult. Therefore I have included some helpful tips for anyone wanting to capture beautiful iamges of this popular tourist attraction.
.
Things You Need To Know Before You Go
Summer Time Is Peak Season
What’s the number one thing I wish I had know about visiting The Hobbiton Movie Set? I wish I knew how insanely busy it is during the Christmas holiday season. Coach tours were leaving full from the Shire’s Rest every 15 minutes. This meant the tour was overrun with lots of people and this made it terribly difficult to photograph any of the 44 Hobbit Holes well. I am assuming that the winter months, or shoulder seasons, would be more favorable for avoiding large crowds. Also due to the high number of people you are forced to move on from one area to another very quickly.
.
How To Get There
Hobbiton Location From:
- Auckland: About two hours’ drive south; take State Highway 27 to Matamata. The turnoff is just south of the Bombay Hills.
- Hamilton: A 45-minute drive.
- Rotorua: A 45-minute drive.
- Taupo: One-and-a-half-hour drive.
- Tauranga: 45-minute drive.
- Waitomo: One-and-a-half-hour drive.
Hobbiton Tours
The only way to visit The Hobbiton Movie Set is on a guided tour. I highly recommend booking all of your tours in advance to avoid missing out on the times that suit you. I really wanted to go late in the afternoon, or early in the morning so I could capture the most favorable light. Unfortunately for us we didn’t book early enough. We did book the day before, although all the tours were nearly full and we had to take what was left. This left us no other option, but to photograph Hobbiton in the middle of the day.
While at Hobbiton I asked the guide if there was a tour option for photographers. She said there wasn’t, although the best option was to book a private tour. The private tours run with a minimum of 1 person and a maximum group size of eleven people. The guide also went on to say all private tours should be booked well in advance.
Hobbiton Photography Tips
I have wanted to photograph Hobbiton for a long time. When I was planning my trip there, I couldn’t find any tips on photographing it at all. I could view galleries and view tours, but when it came to advice for photographers, I couldn’t find anything overly helpful. That is one of the main reasons for putting together this blog post.
.
What Gear Should You Take?
Lenses
This is a lot to photograph while you are there and a very short time to do so. I highly recommend taking the biggest wide angle lens you have. The path is quite narrow and sometimes you will have trouble fitting your subject into the frame. I would also take at least a 300mm telephoto lens, as the attention to detail in the area is unbelievable and you might want to zoom in on particular features of the Movie Set that you cannot get close to.
Tripod
This is essential if you are planning on visiting during the low light hours of the day. The one problem with this is that narrow path. At times you will not be able to use your tripod because of all the people passing by.
Filters
If you end up photographing the area in the middle of the day a polarised filter is a must. I used a polarised filter in all of the shots you see in this blog post. I did bring a variable ND (neutral density) filter and I hated it. It was a 6 stop ND filter and it did not work at all, I have used a couple of these now and I find the quality very poor. Next time I go I plan to take a fixed 6 stop ND, because I really want to capture the movement in the clouds and smooth the water out in the lake. It was really windy when we were there and the lake was extremely choppy. I made the tough decision not to include any of the photographs in my collection that featured the lake.
.
Lighting & Composition
Lighting
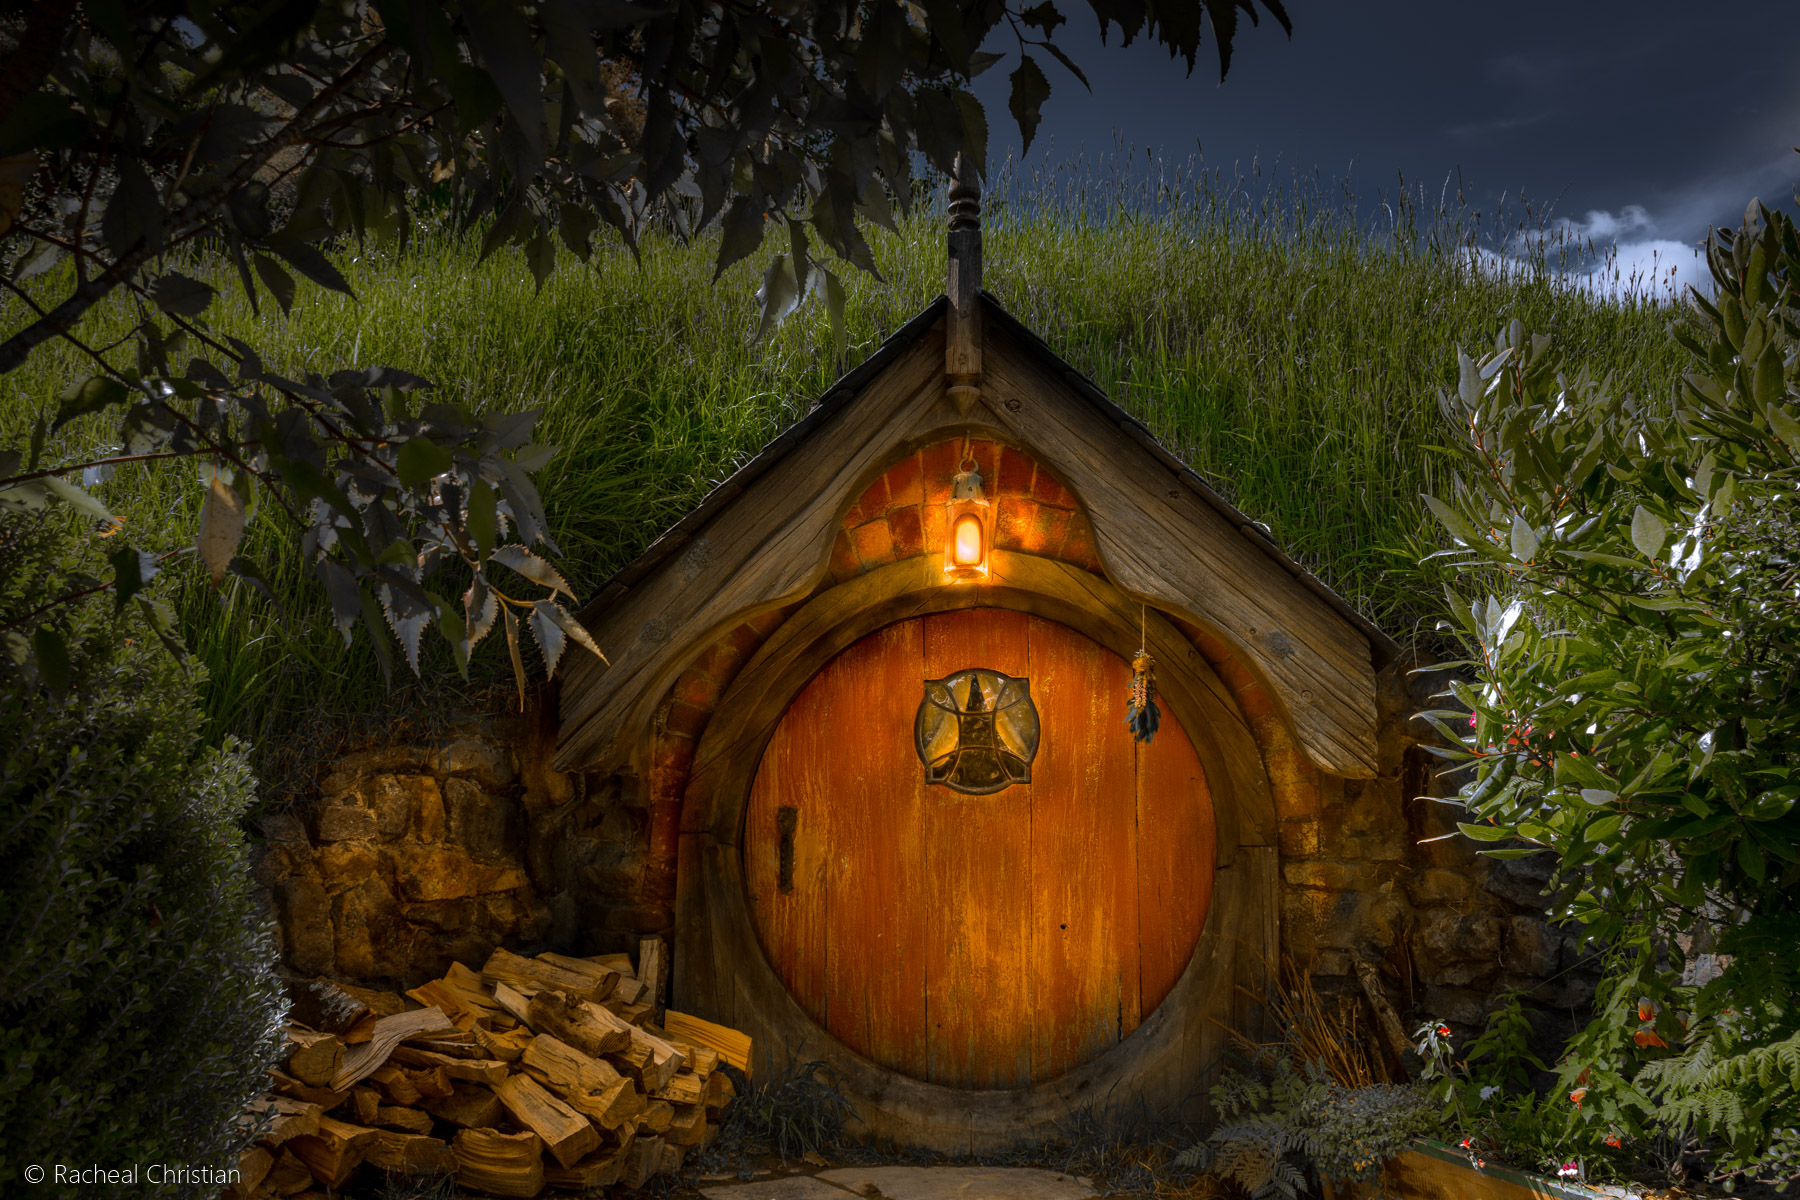
The lighting in the middle of the day is harsh, and unless you plan on editing your images later, do not photograph at this time. On my return visit I am going to go in the morning and in the afternoon. I have seen images by other photographers at that time of the day, and I love the softness of the landscape and the colours in the clouds.
I recommend playing with HDR and layer masking. Take multiple exposures and you will give yourself the chance to create an amazing image.
Composition
I did not frame many of the images as well as I would have liked. I prefer to take my time when deciding how to frame my shots. Therefore, having people constantly bumping into me, asking me to take their picture, and the pressure from the tour guide to keep up a fast pace was stressing me out. I found it hard to focus. It helps to go in knowing what you want to capture. This can be helped by exploring framing options. and can be achieved by browsing through the images of other photographers.
You may have to photograph the Hobbit Holes from an angle to fit them in the frame. When you get to one you like, pick a detail or feature you would like to capture. Then photograph it from a far angle on both sides. This will give you three differently composed images. If you want to get more, be aware that you are on a tight time frame, so choose your extra shots wisely.
Visiting Twice Is A Good Idea
I know you might all be thinking, but this will be more expensive, and I don’t have a lot of time. If you want to get great photos of Hobbiton, then I do recommend visiting twice. The first time is so rushed and experimental that I feel a second visit is necessary. I don’t know how long the private tours are, but I doubt they will go much longer than a standard guided tour. If you are interested in this option, make sure you email or phone Hobbiton Tours at the Shire’s Rest.
.
Get Creative
Photographing Hobbiton varies from photographing wildlife, or your ‘run of the mill’ travel photography. I love getting creative during the editing process, and this genre really allows you the chance to see what you can do. I had to edit all of the images in the gallery below. Not only to be creative, but also because the images were high in contrast. Make sure if you’re photographing in the middle of the day, focus on the highlights.
If you shoot in JPEG you will be shooting yourself in the foot. The amount of data captured in a JPEG is small, and you need all the information stored in a RAW file to bring the picture to life. If you are a professional photographer or plan to sell any of your images, I recommend only ever shooting in RAW. Every time you edit your JPEG file and save it, it will lose quality and data.
Make sure you have a decent editing program. I use Adobe Lightroom, although if you want to get into layer masking you will need a more advanced photography software
.
I hope all of the information I have provided helps you plan your visit to The Hobbiton Movie Set and clears up any questions you may have. Now you can view my images below. Many of the images are for sale. You can purchase prints and products by visiting the Hobbiton Gallery in My Print Shop, or click on the button below.
.
.
Buy Hobbiton Prints & Print Products
.
.
My Hobbiton Gallery
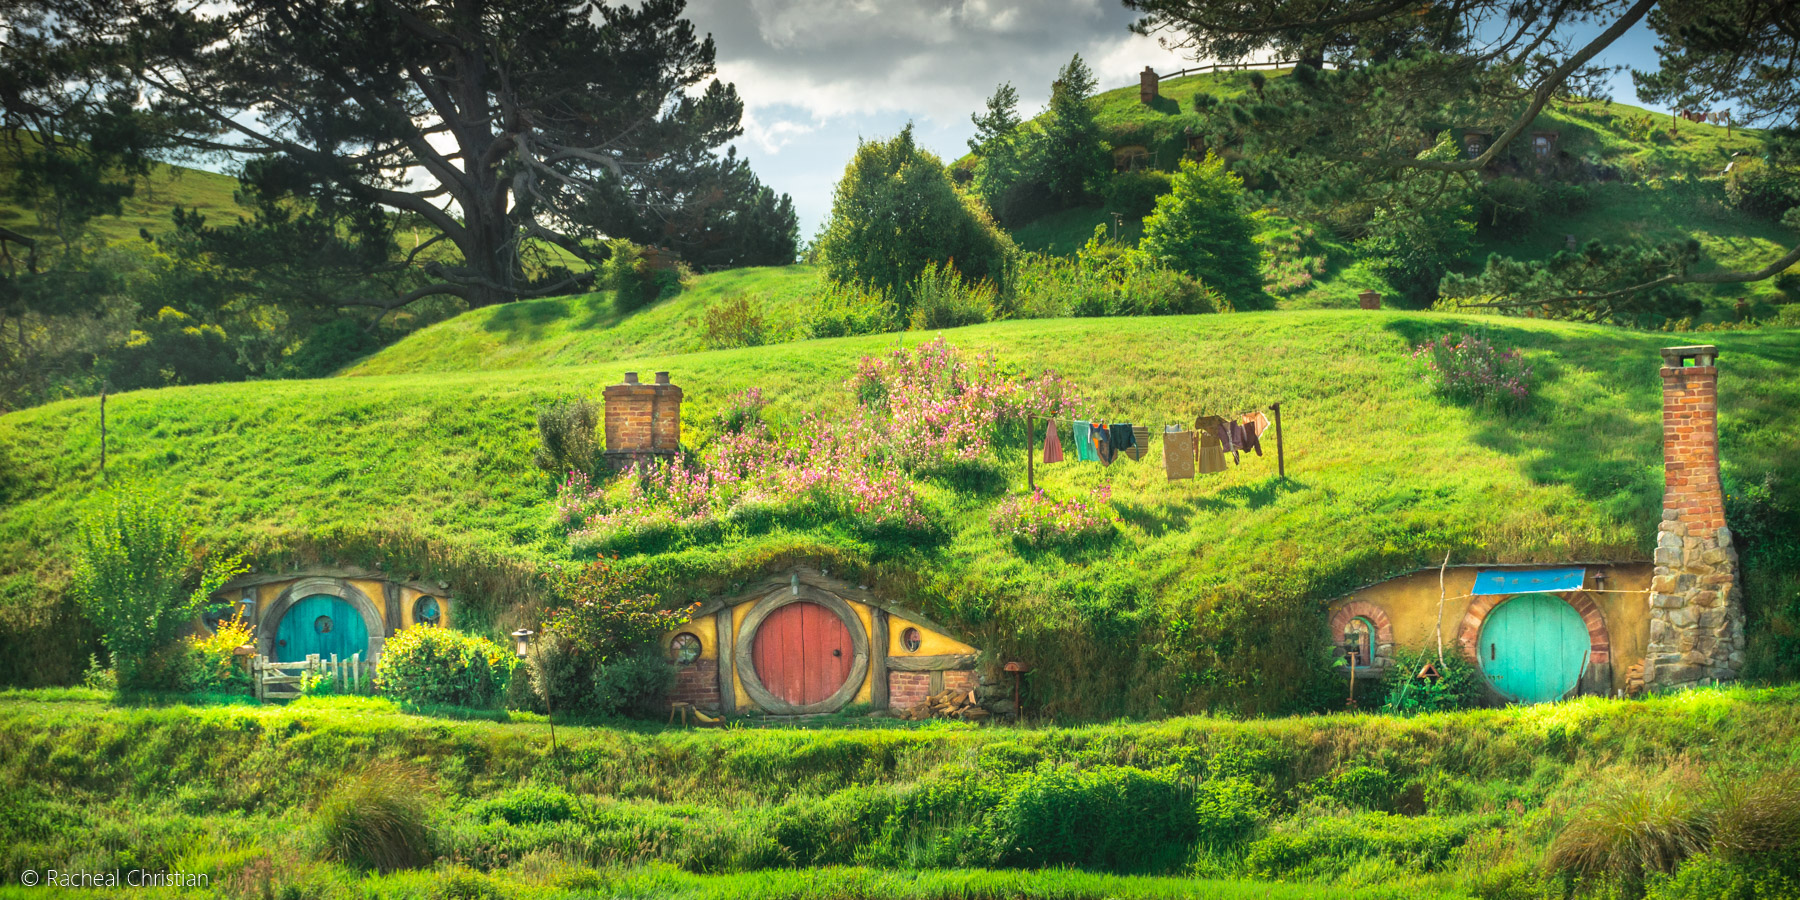
Hobbit Lane
Little Picket Fence
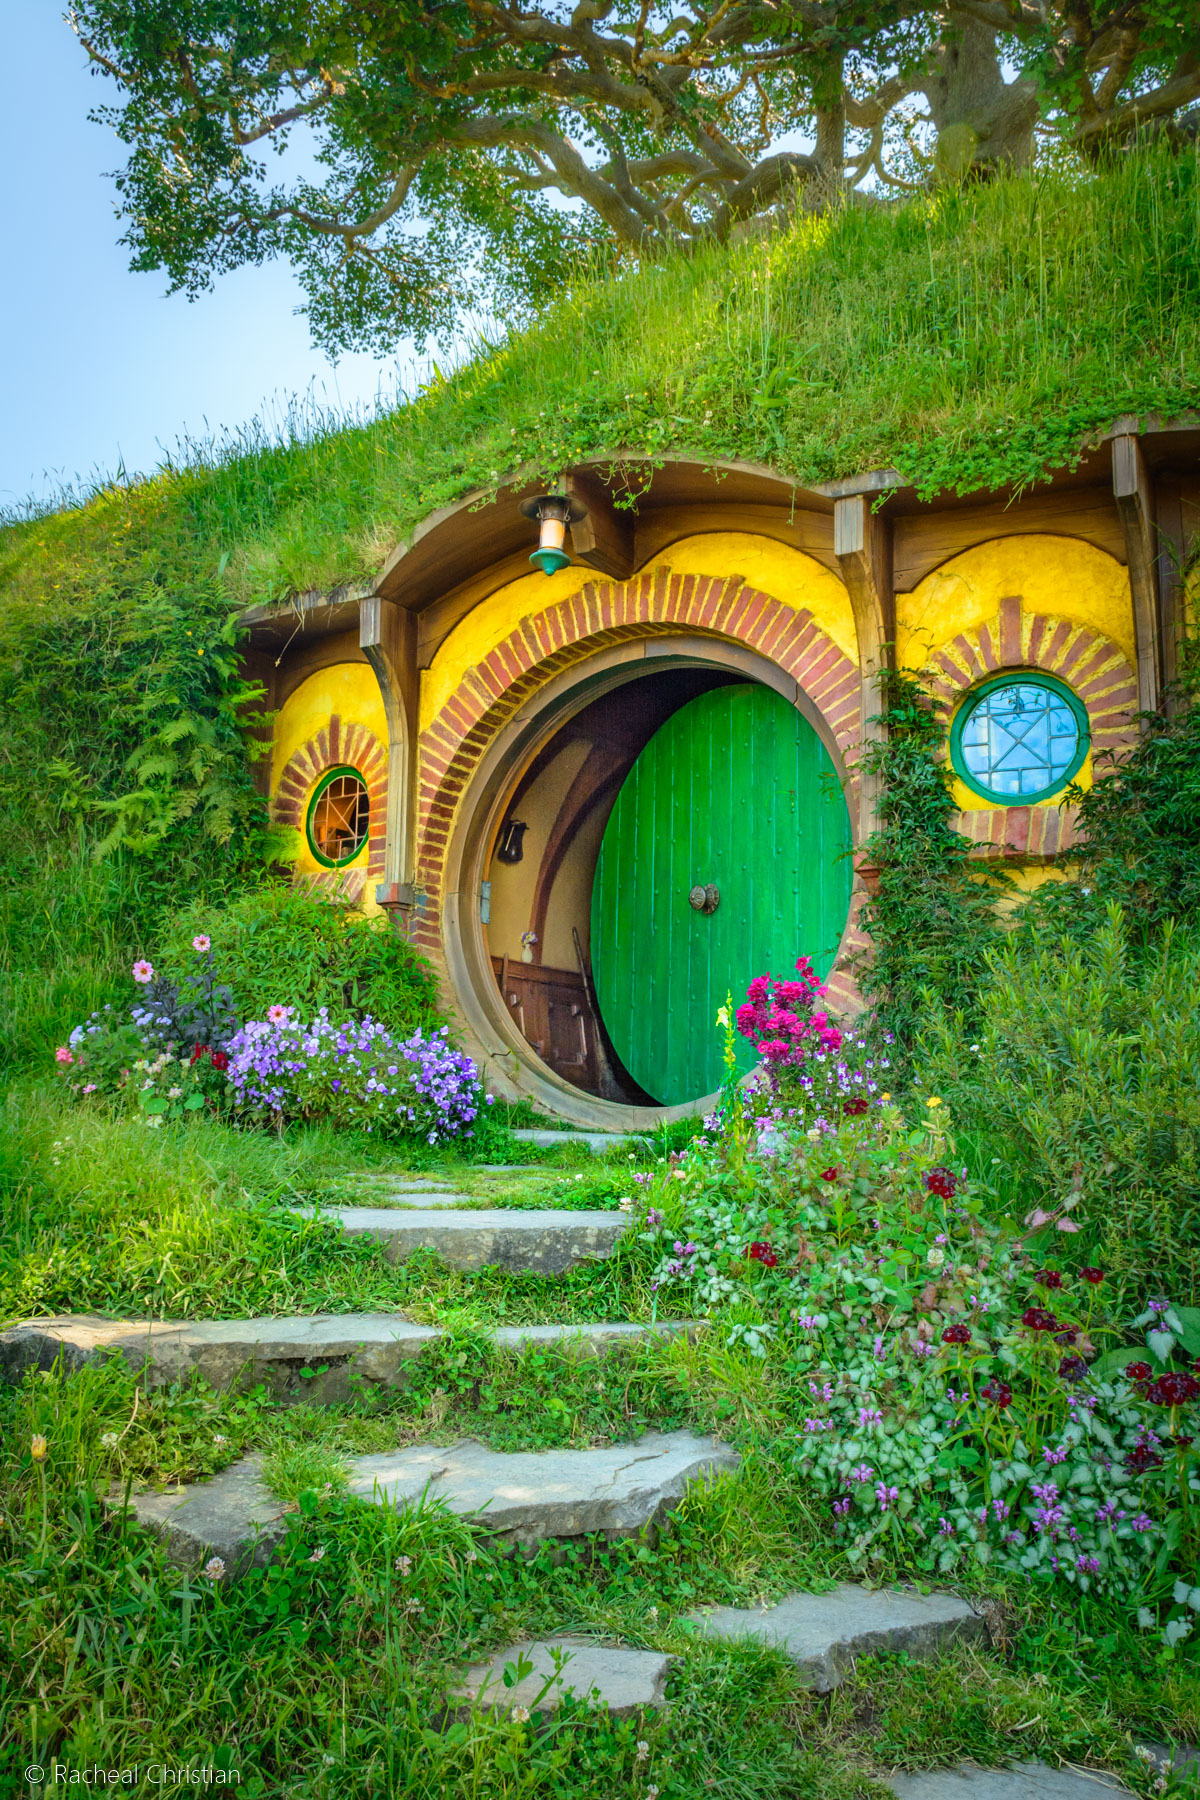
Bag End
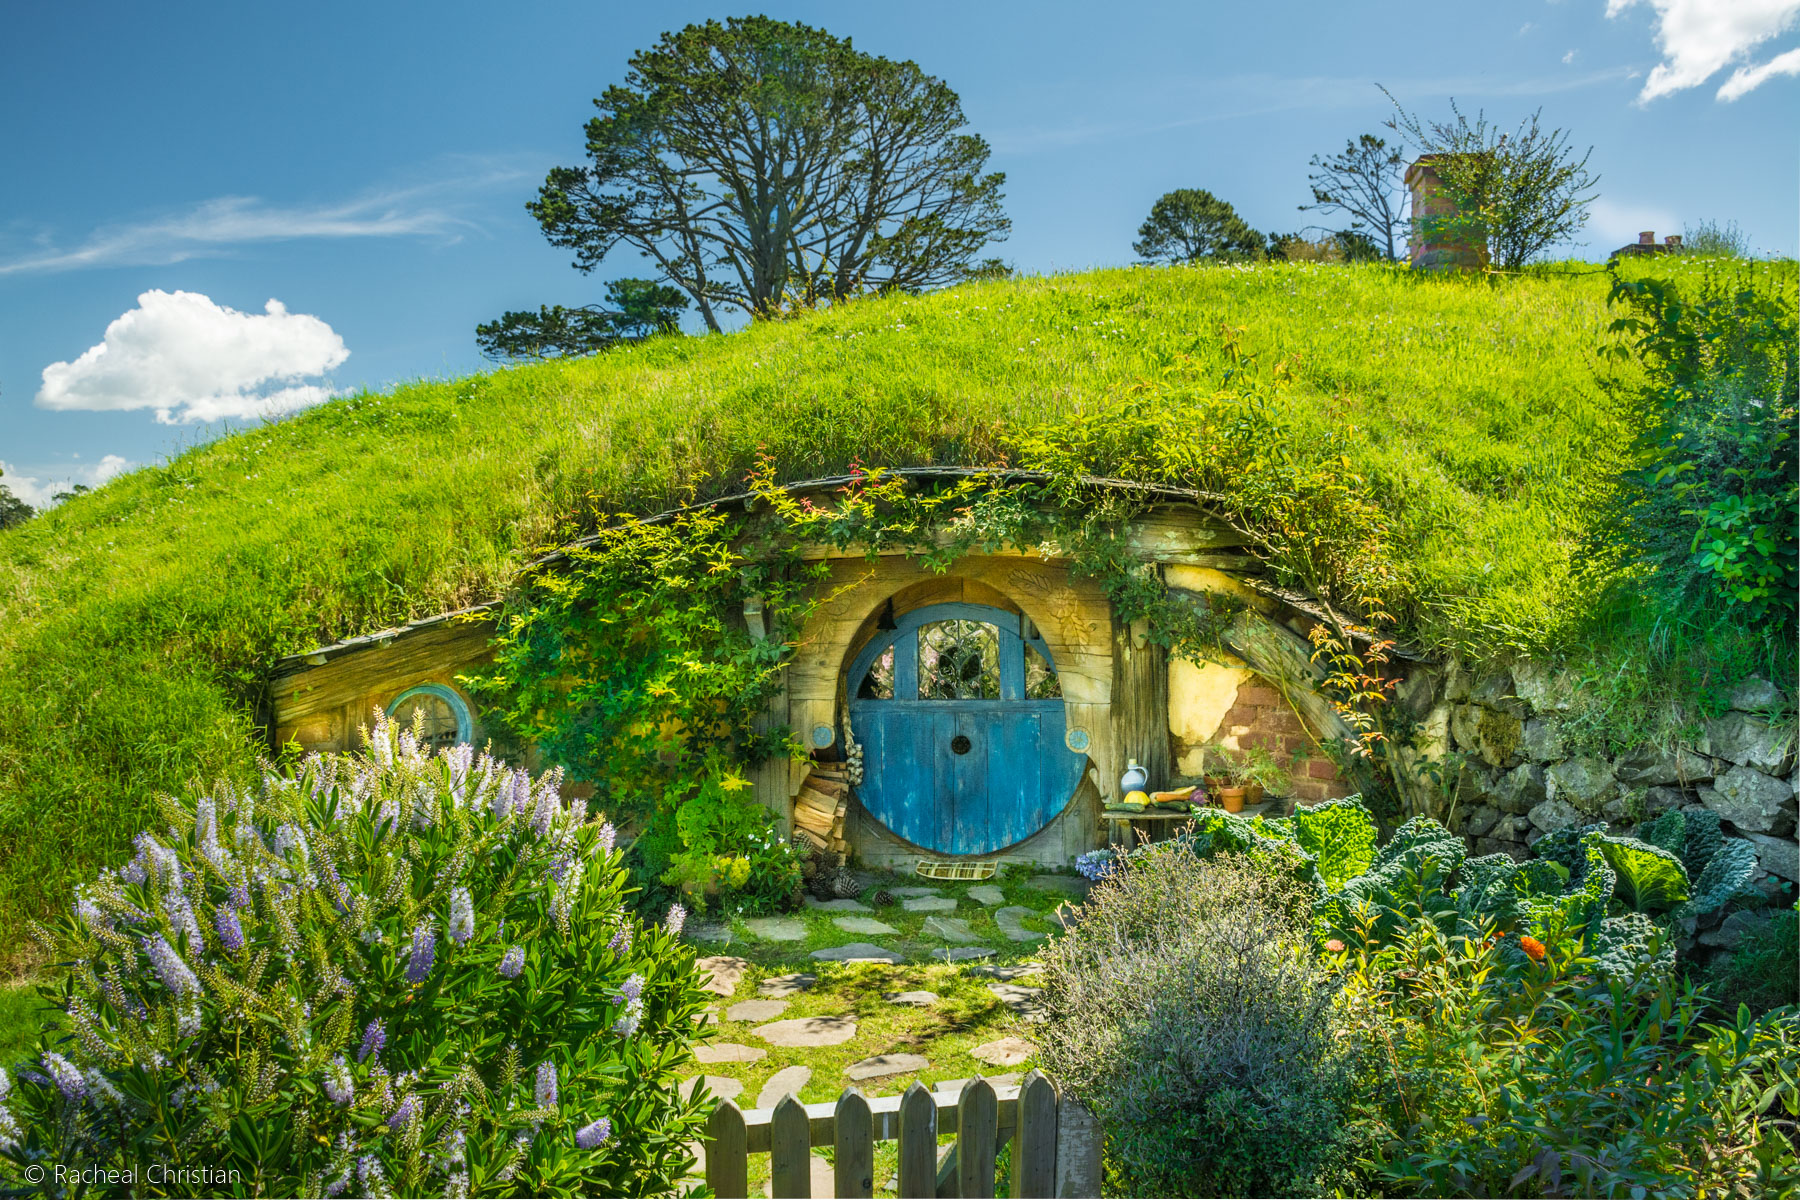
Blue Door Hobbiton
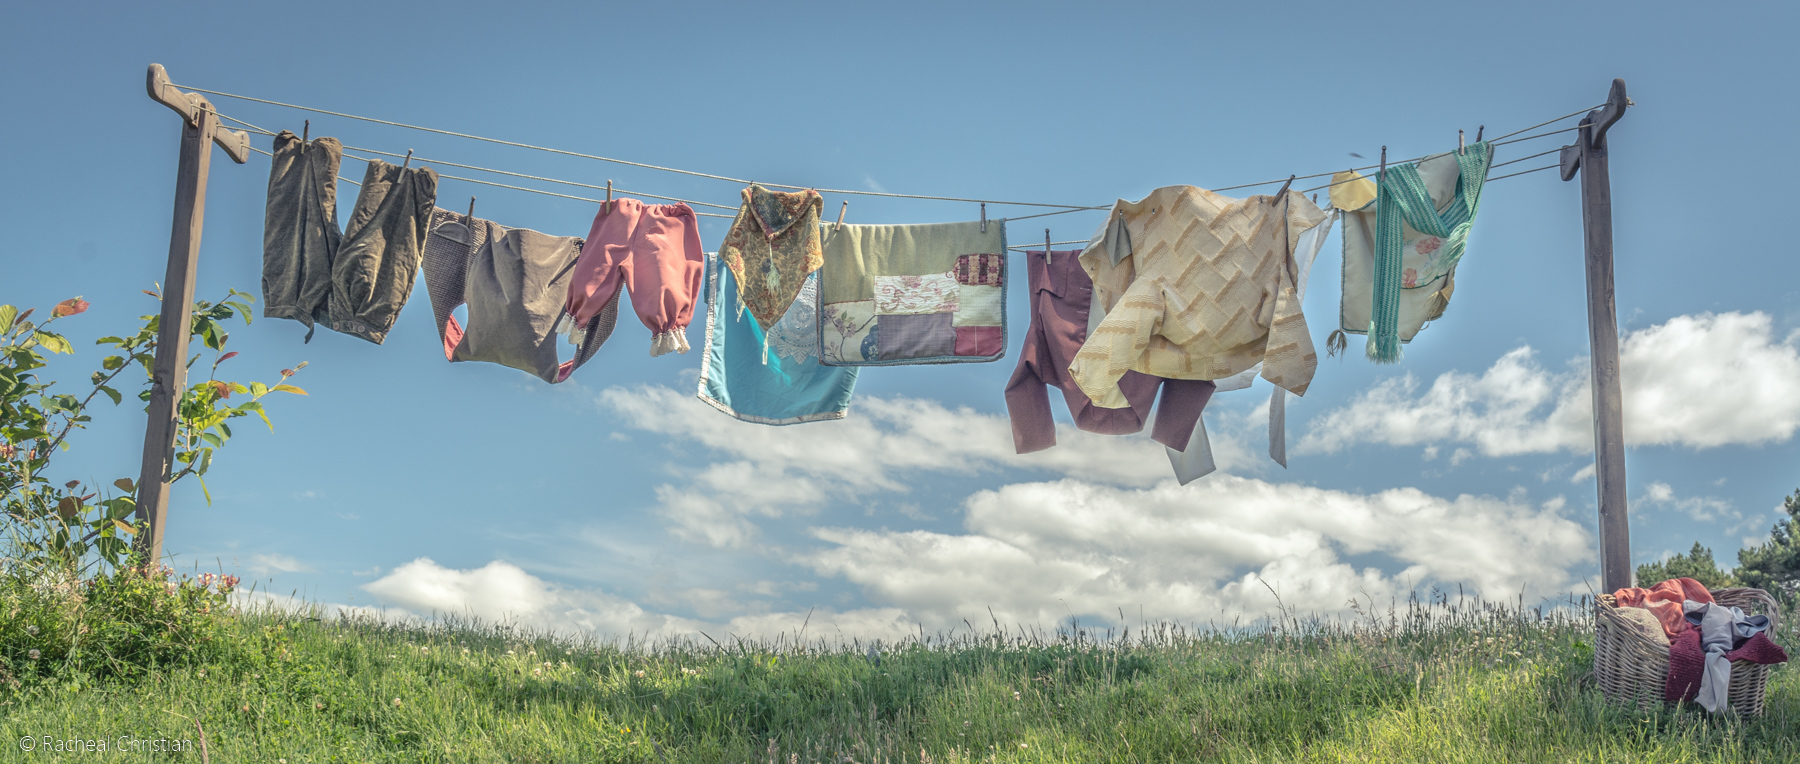
Hobbit Clothes
Flowers In The Shire
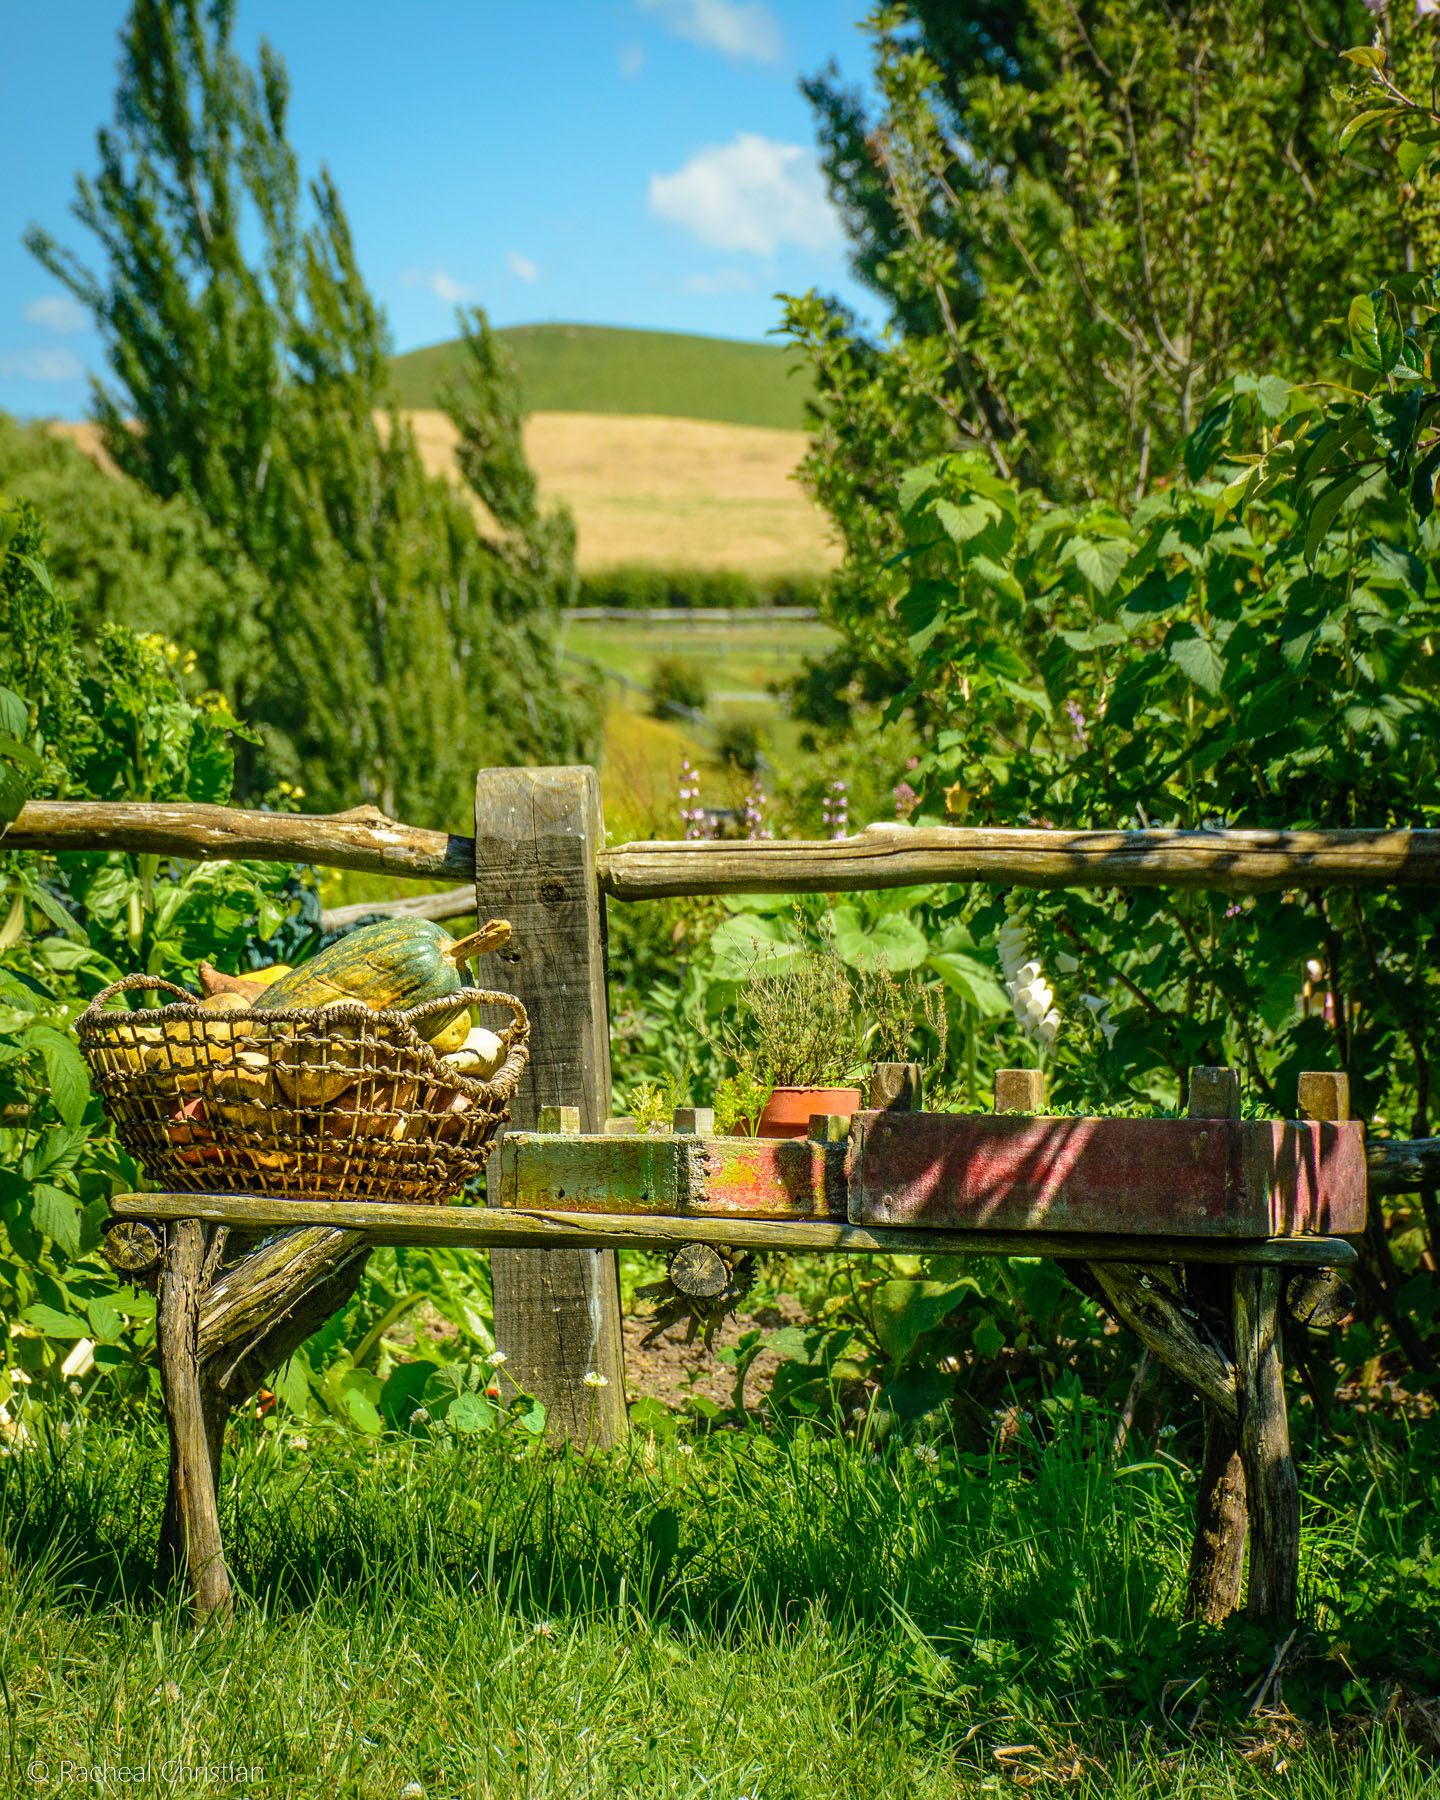
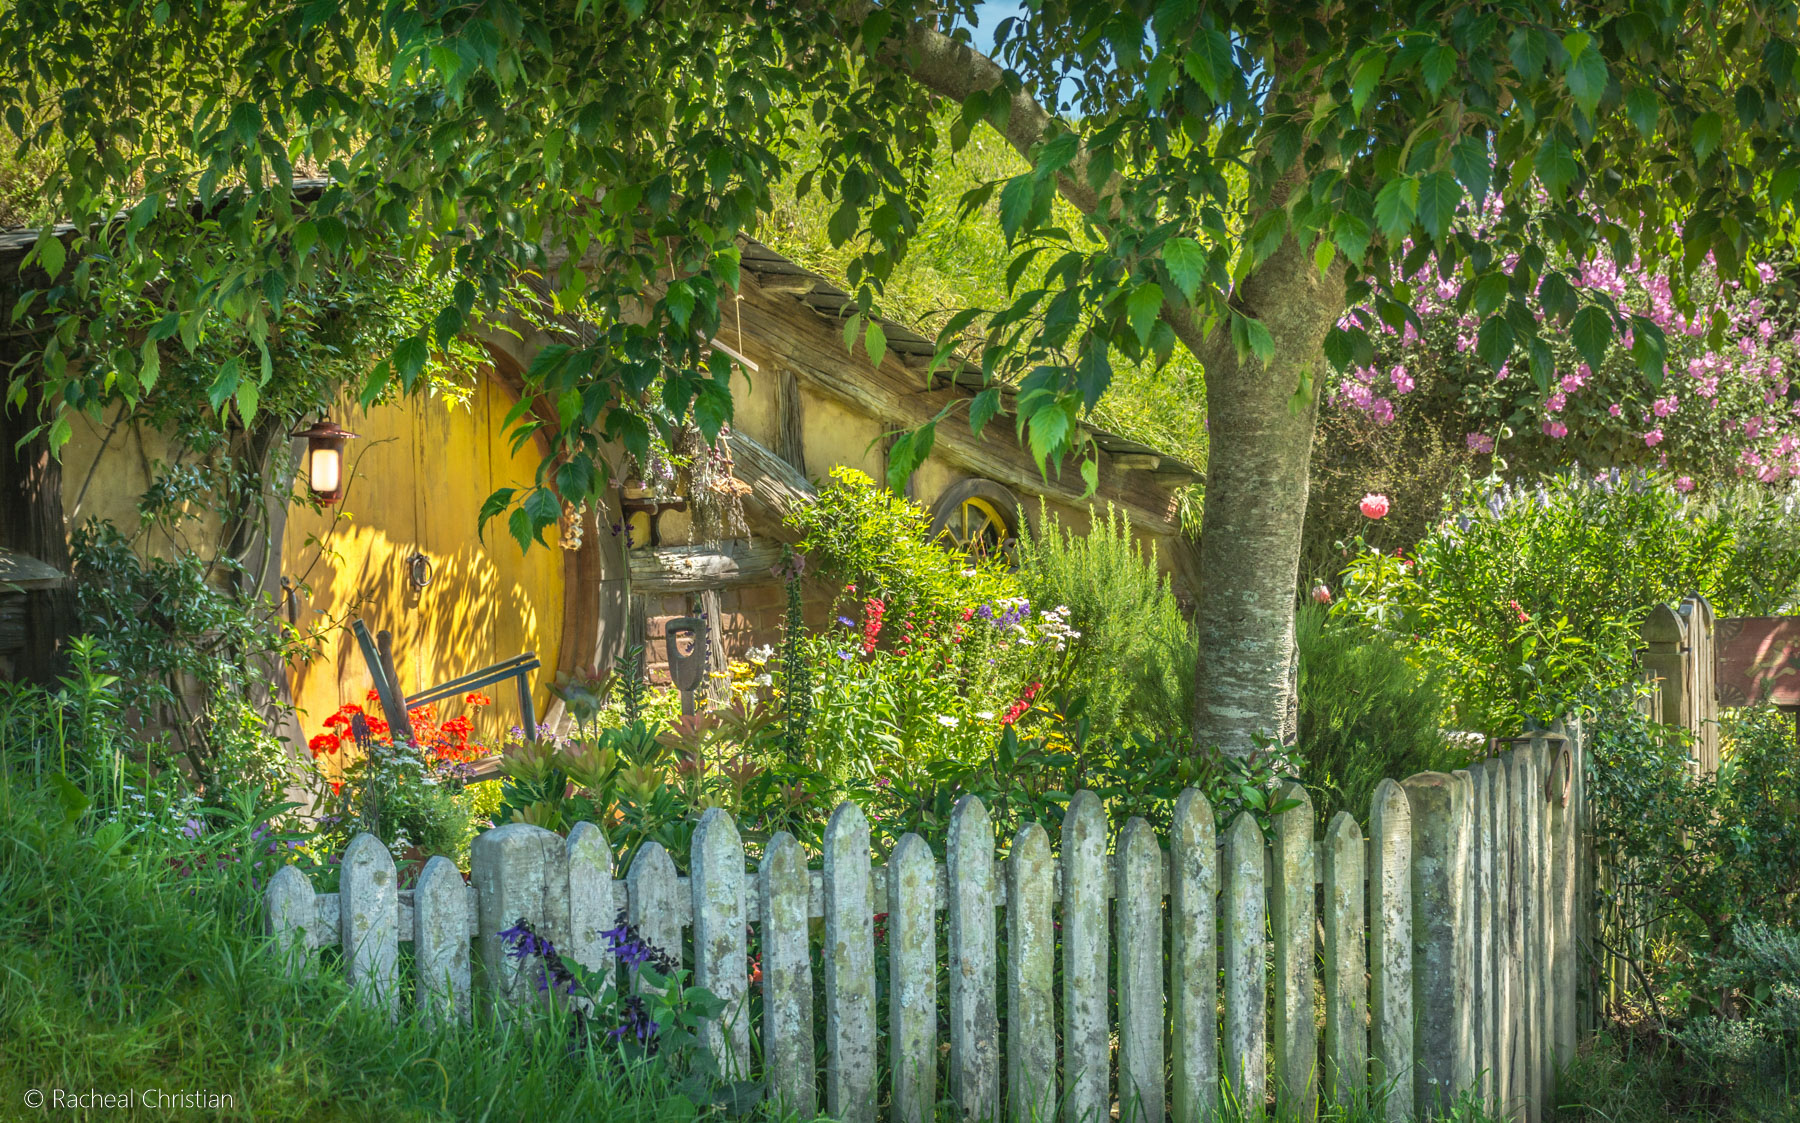
Hobbit Garden
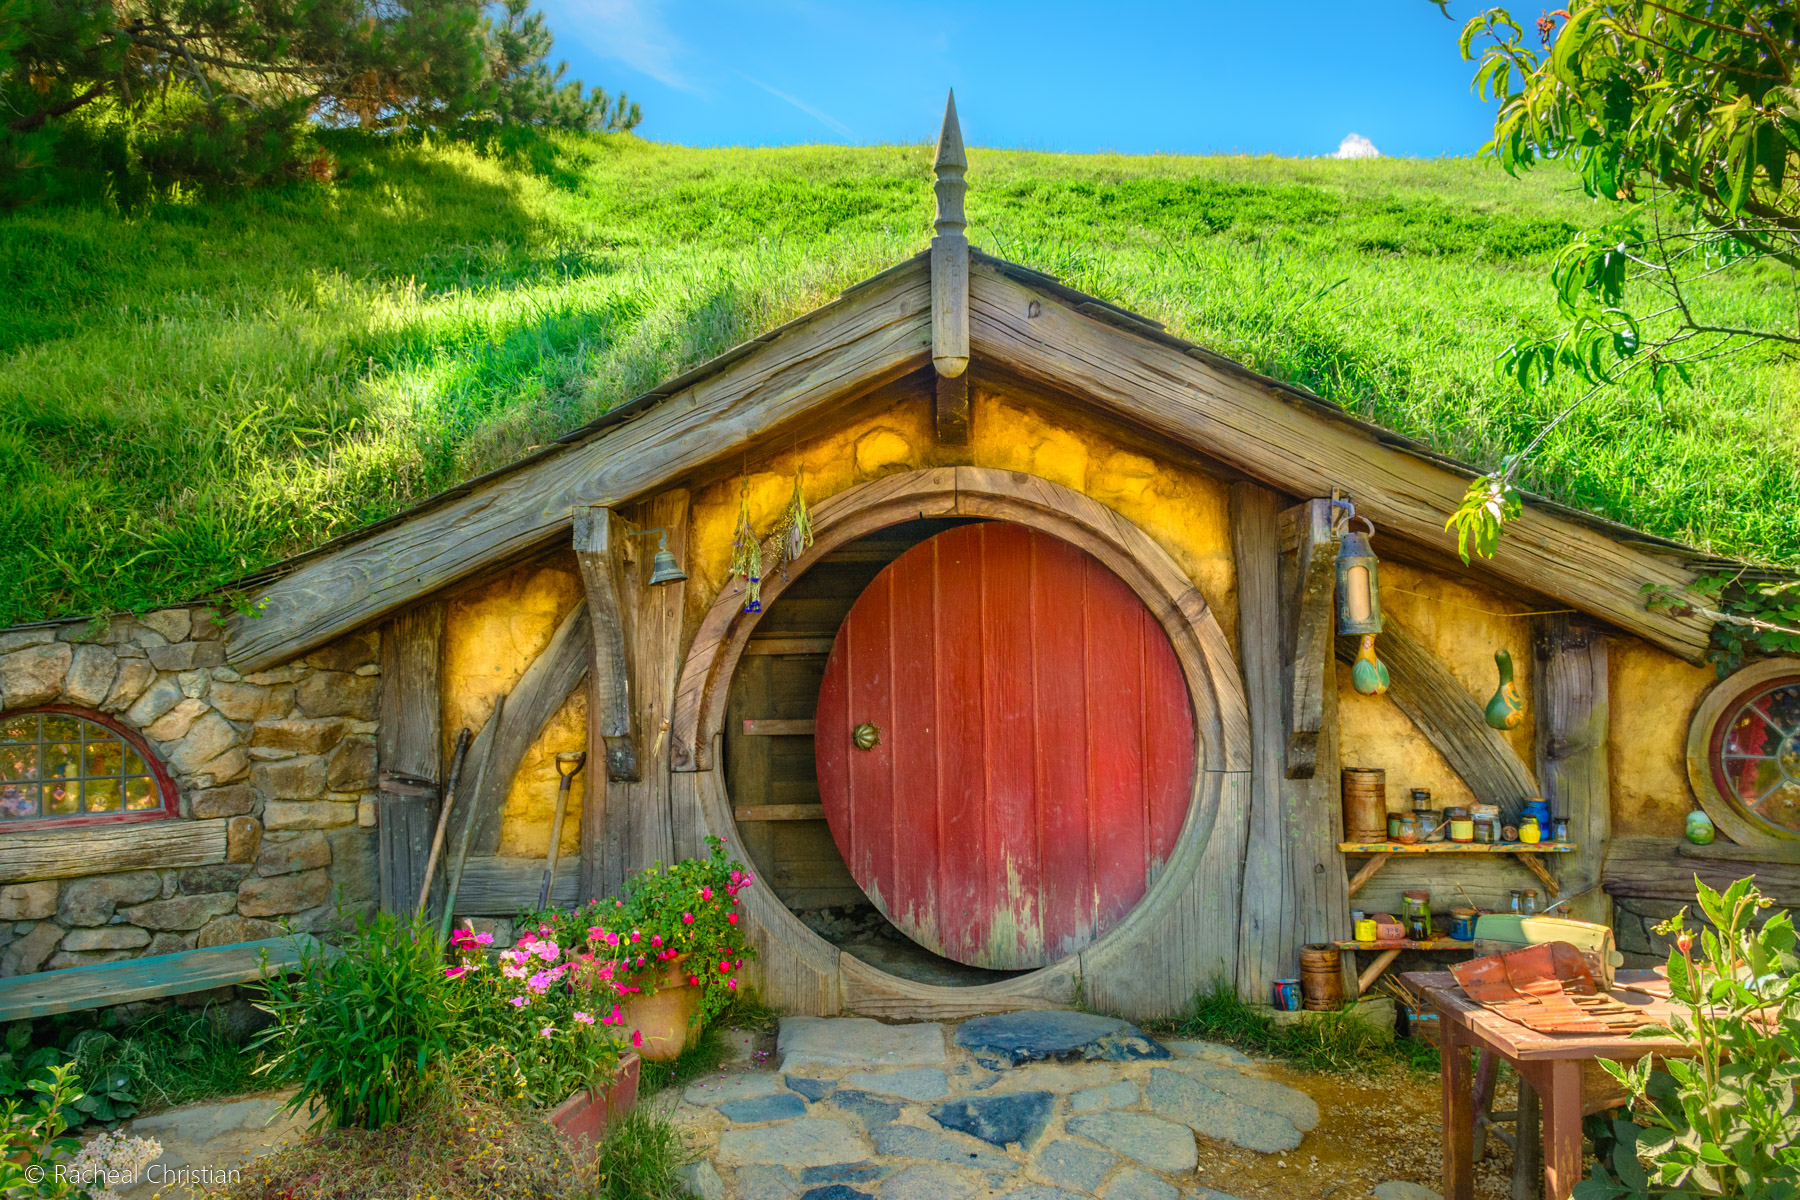
Hobbit House
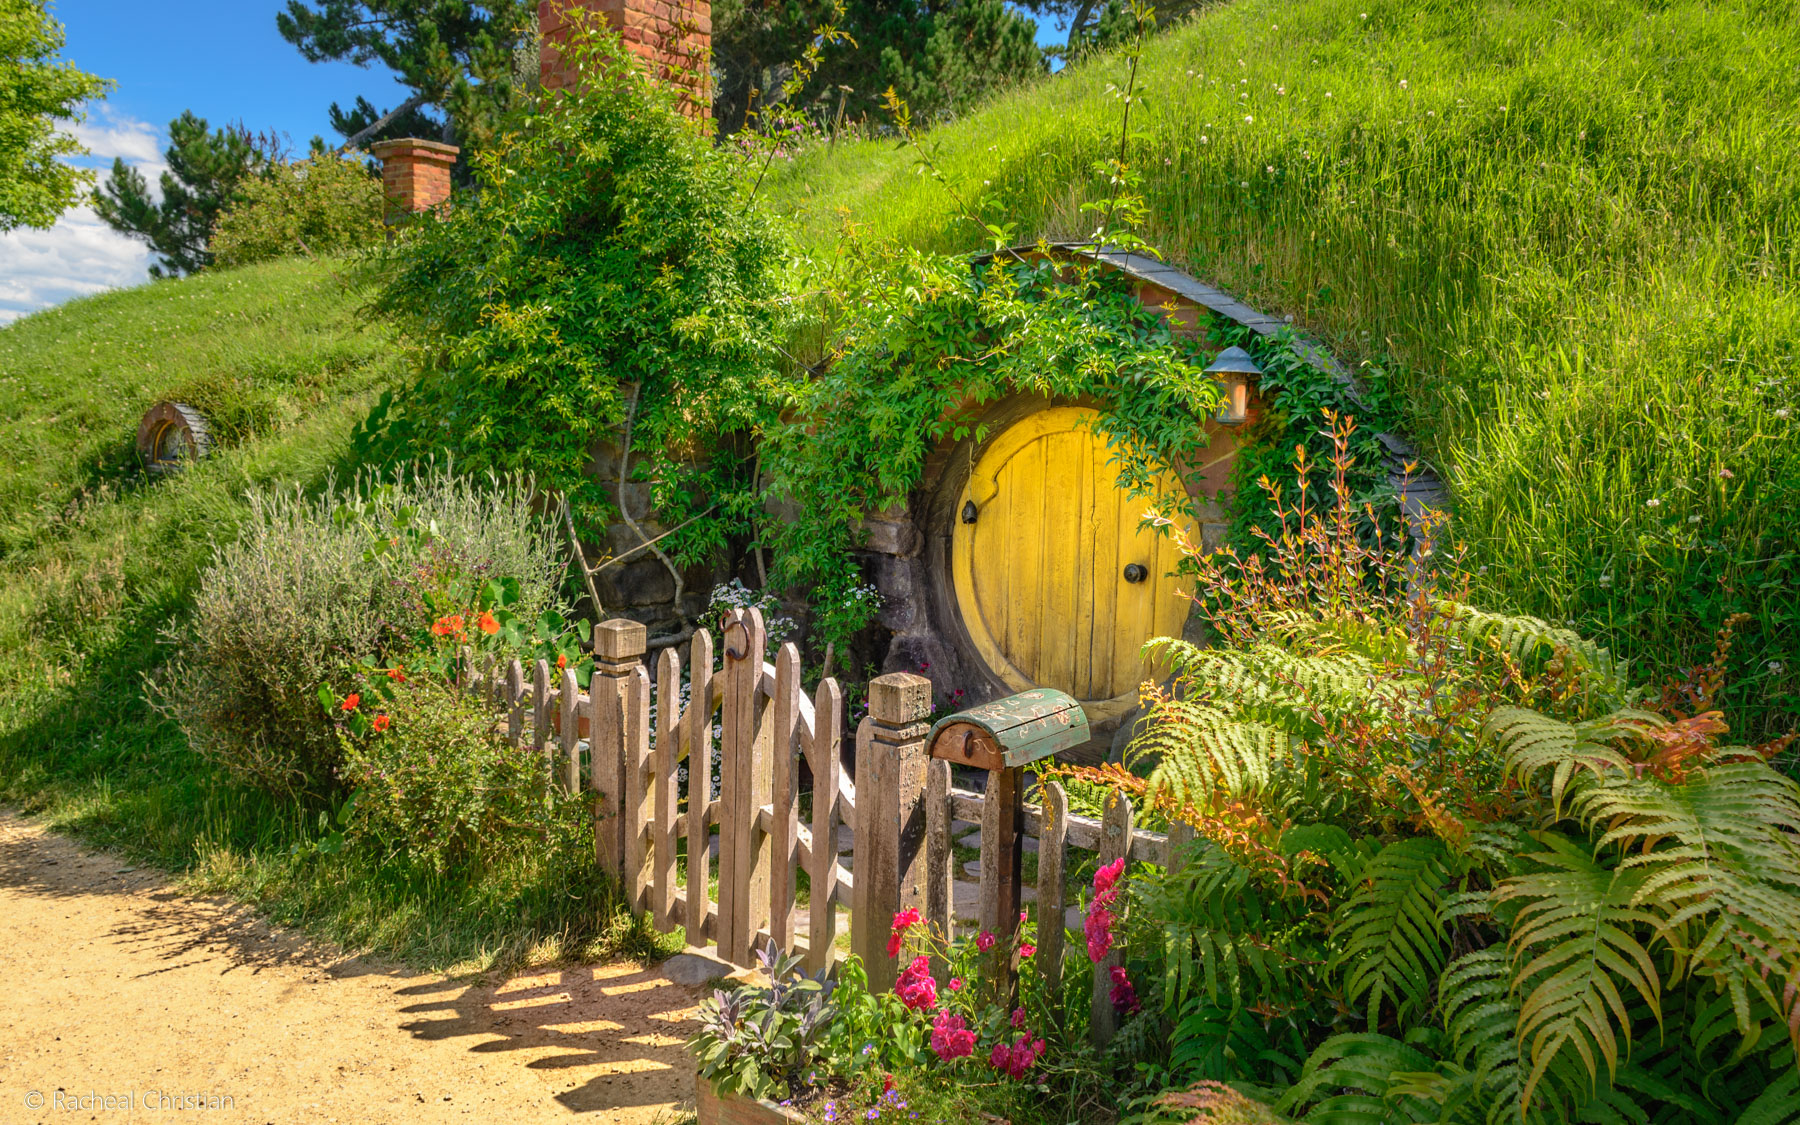
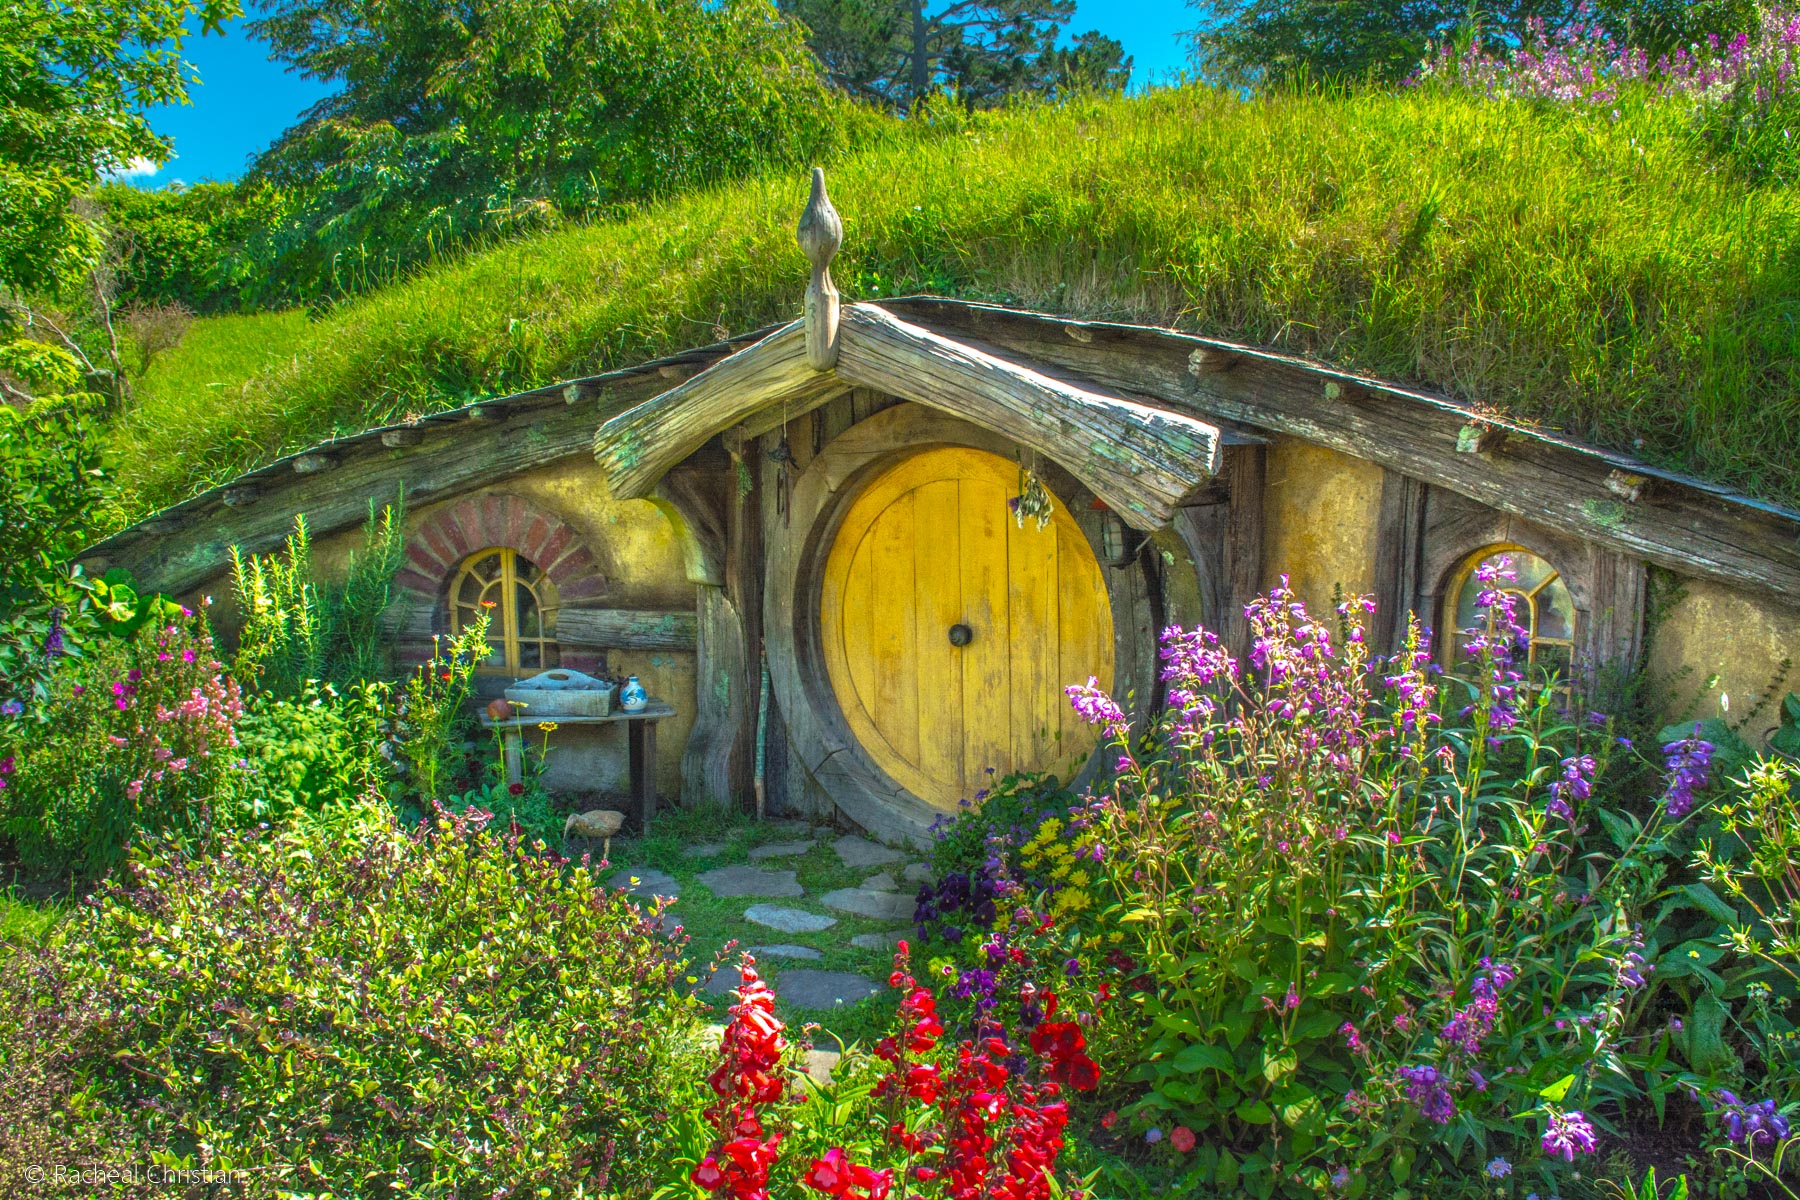
Little Yellow Door
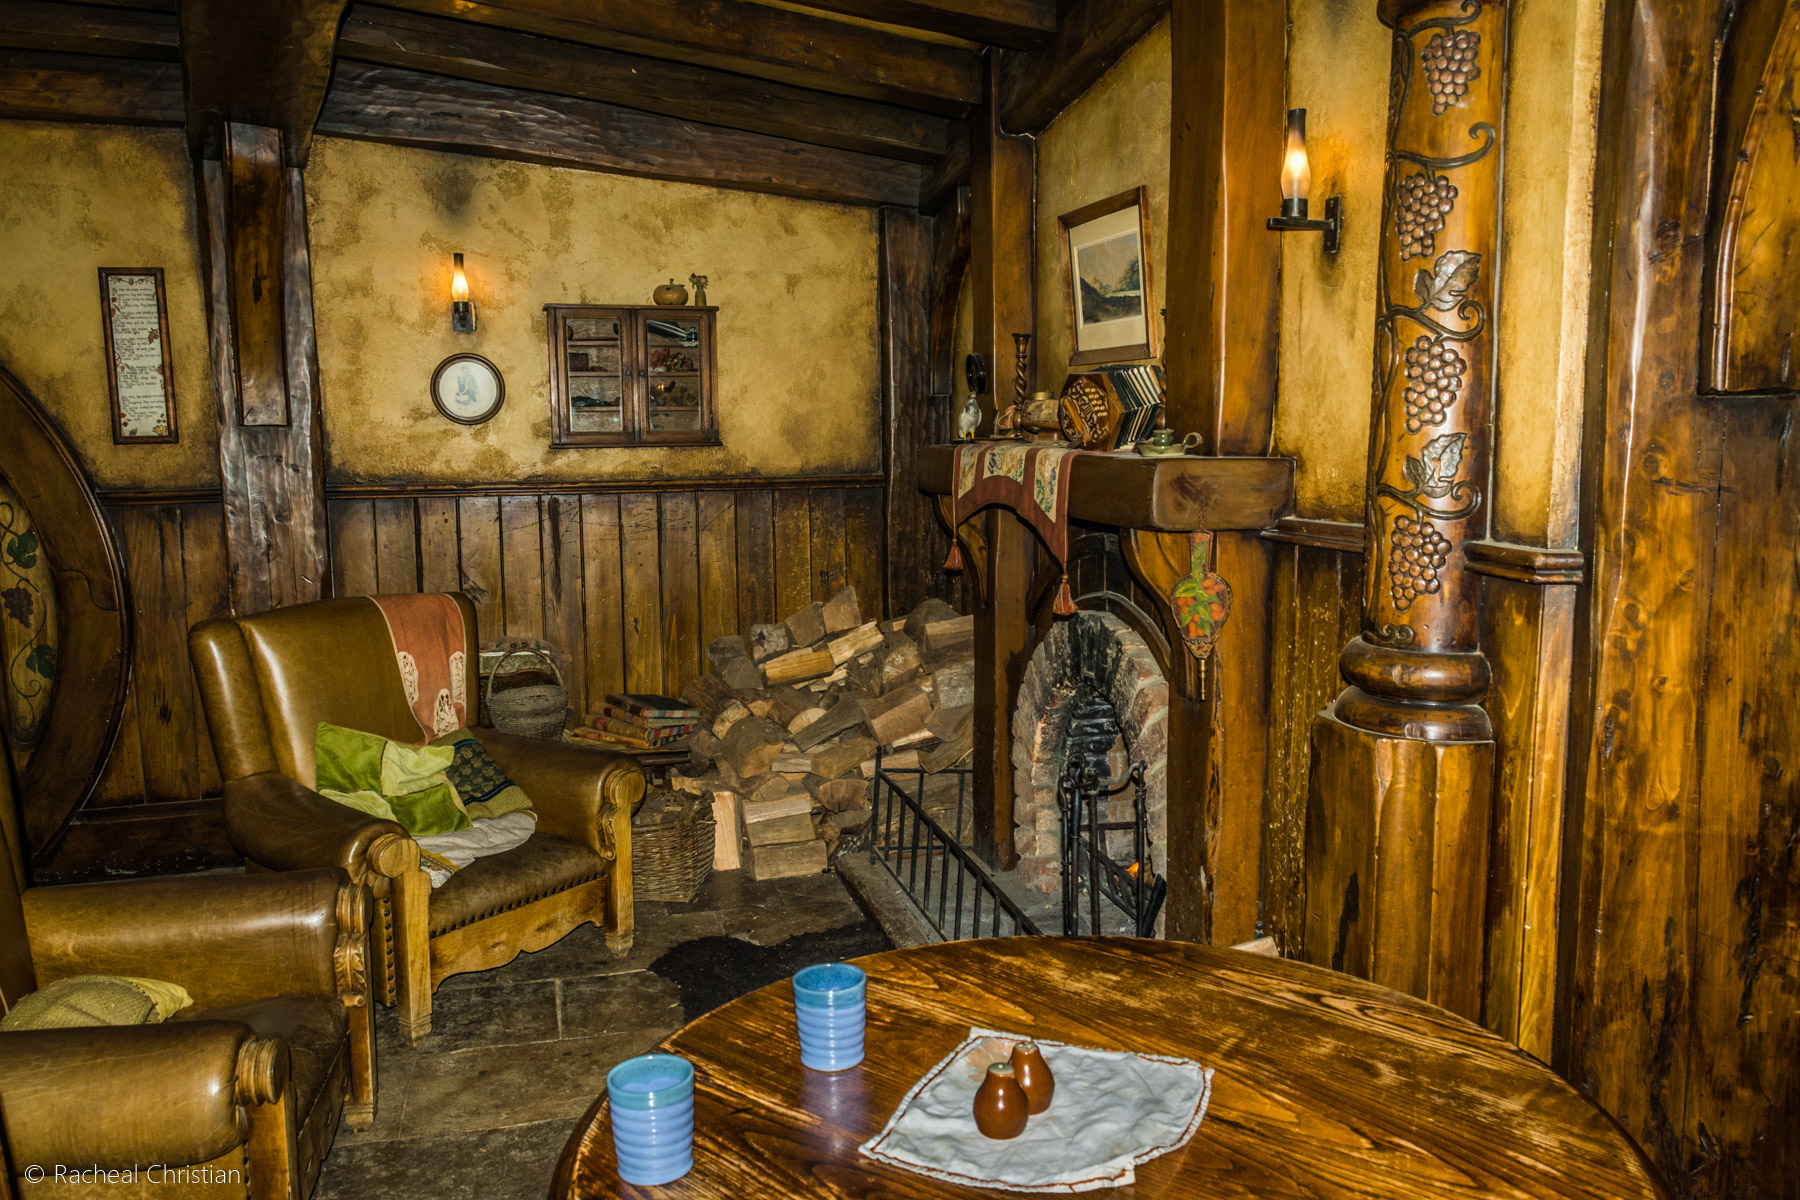
Green Dragon Fireplace
Hobbit Dwelling
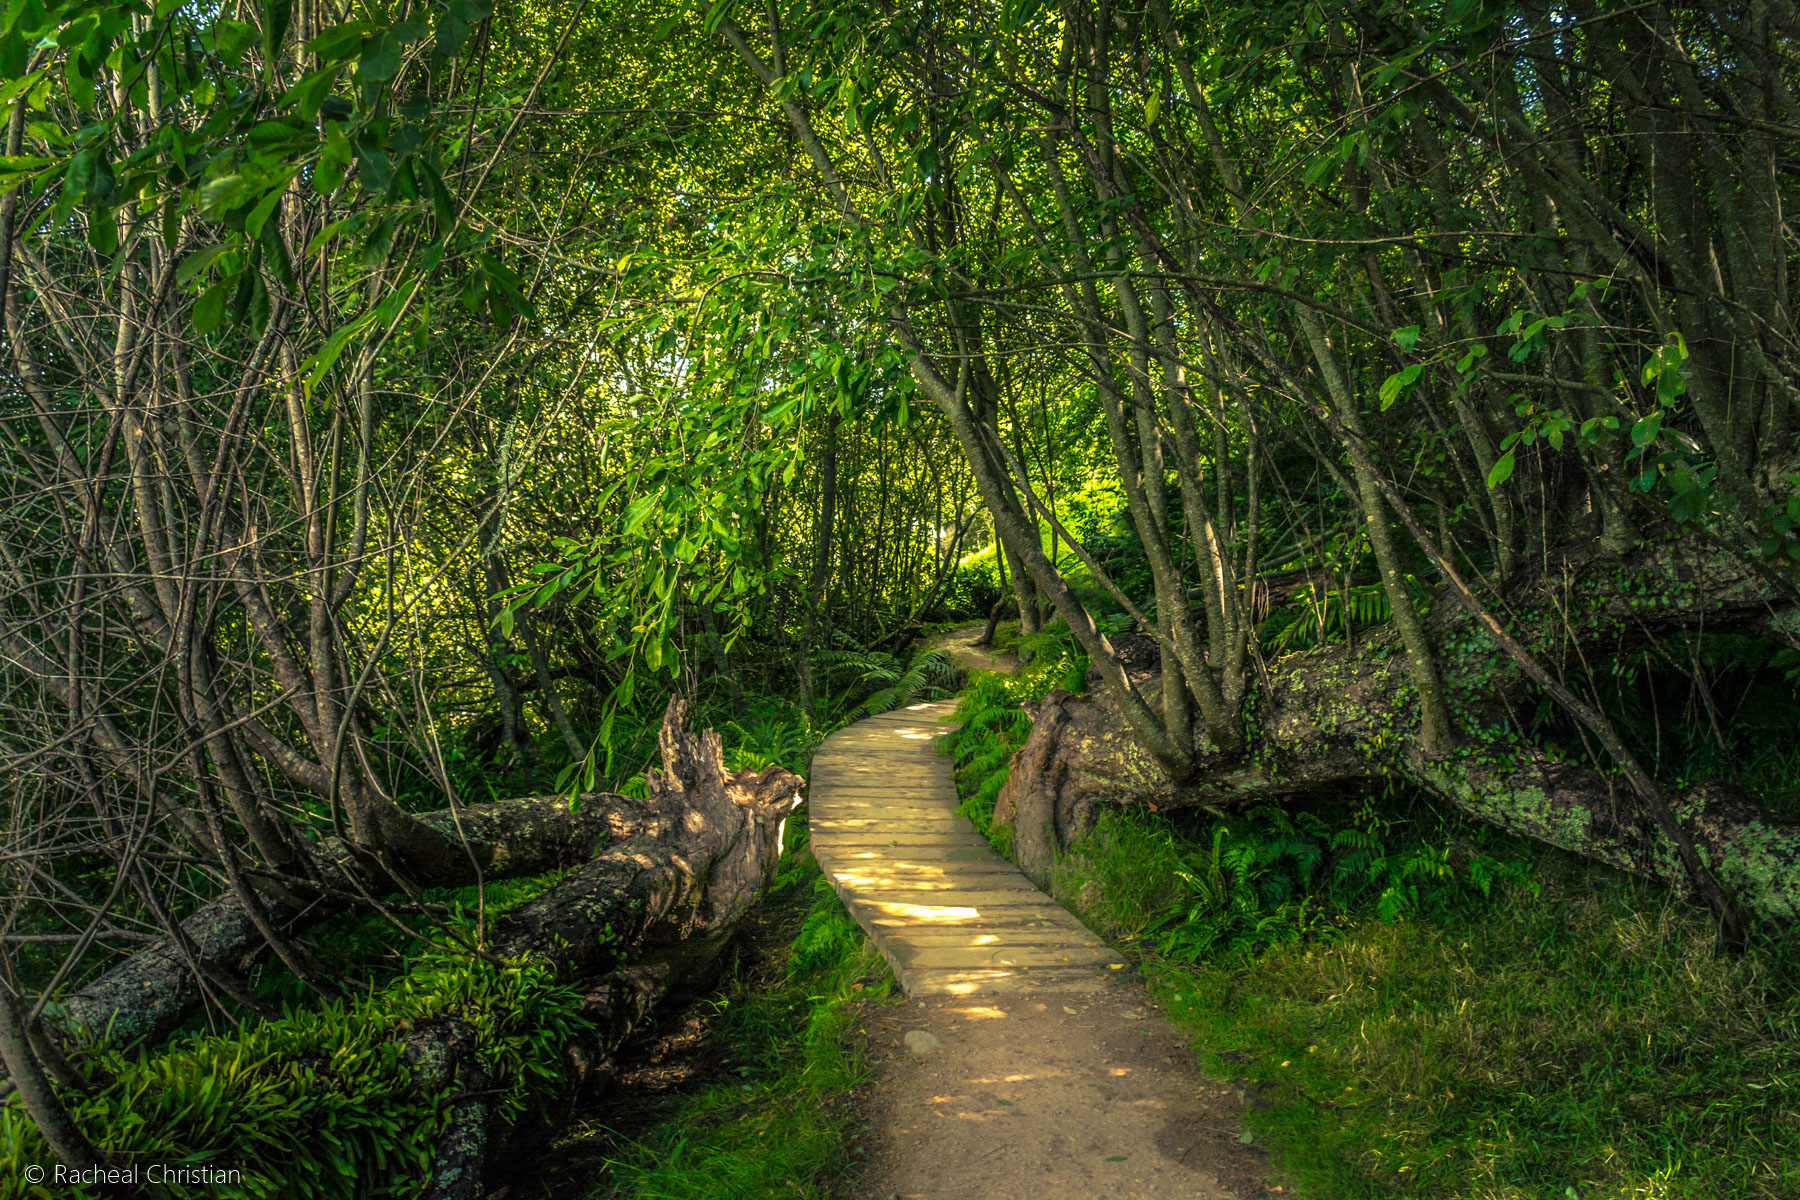
The Shire Track
The Green Dragon
Hobbit Hills
Hobbit Cottage
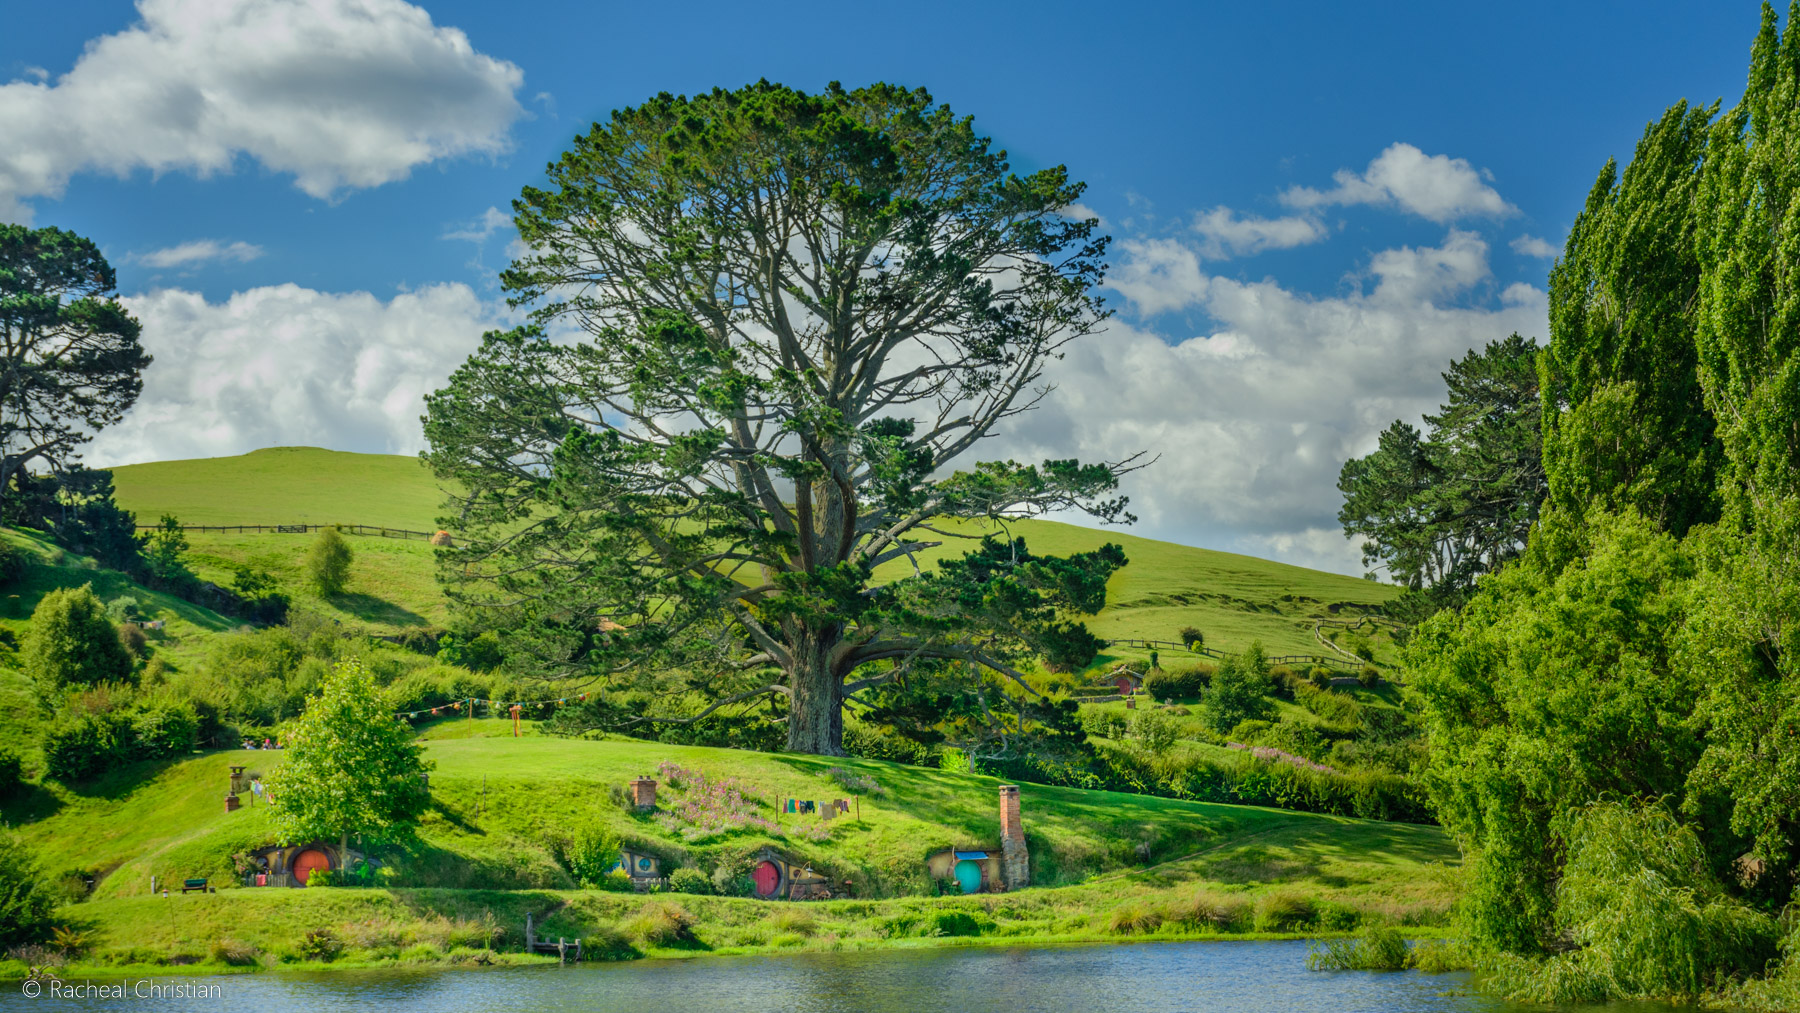
The Party Tree


Leave a Reply
Your email is safe with us.